Major jumpoff: Brgy. San Andres, Tanay, Rizal
LLA: 645 MASL / 780 MASL
Days required / Hours to destination: 1 day /1.5h (Mapatag); 3-4 (Susong Dalaga Peak)
Specs: Minor climb, Difficulty 3/9, Trail class 1-3
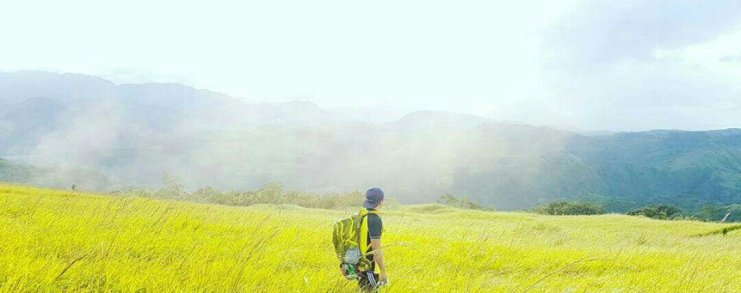
Features: Grassland slopes, views of Laguna, Rizal, and Quezon
— Source: Pinoy Mountaineer
THE JOURNEY
We started to climb around 6 PM and thought that it would be an easy trek but it was not. The trail going to the first peak named as Duhatan Ridge which is the campsite was truly a difficult one. It was like a total ascent, the trail was really steep. Per our guide, there are three main stations where you can actually rest on the trail and there is also a store that opens as early as 4 AM near the campsite. One good thing about Mt. Batolusong is its water sources. There are actually three water sources in this mountain. One near Duhatan Ridge, another near Mapatag plateau and lastly near Kayibon falls. So if your stomach is not too sensitive, you can drink from it to help you lighten your backpack.
After almost two hours of climbing, we were able to reach the campsite. Note that you can either choose to camp at Duhatan Ridge or Mapatag plateau but it is recommended to camp at Duhatan Ridge because of the following reasons:
(1) near the store; (2) near the water source; (3) the best view of the sea of clouds. After setting up our tent, we had our dinner under the glimmering infinite number of stars in the sky. The feeling was very ecstatic with the thing we have just beheld.

It was around 4 AM when we started our trek to Mapatag Plateau and it took an hour to reach it. It was unfortunate that we were not able to witness the sea of clouds in Duhatan Ridge due to the strong winds from last night but nonetheless, it was still amazing to witness Mt Batolusong from a total darkness unfolding to its exquisiteness. We continued our climb to reach its third and highest peak which is the Rangyas Peak.
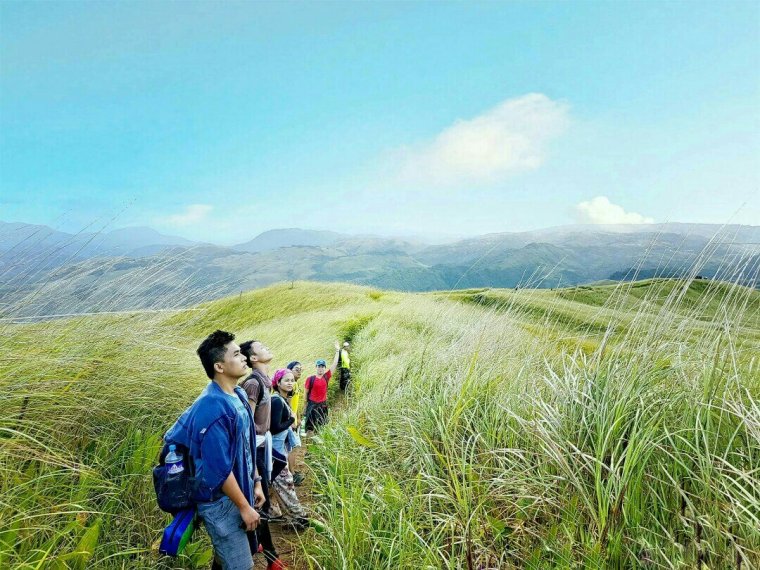
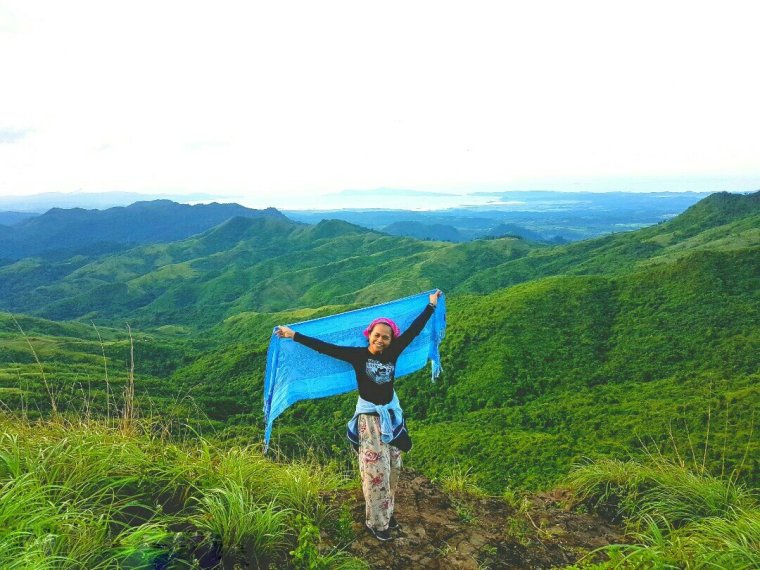
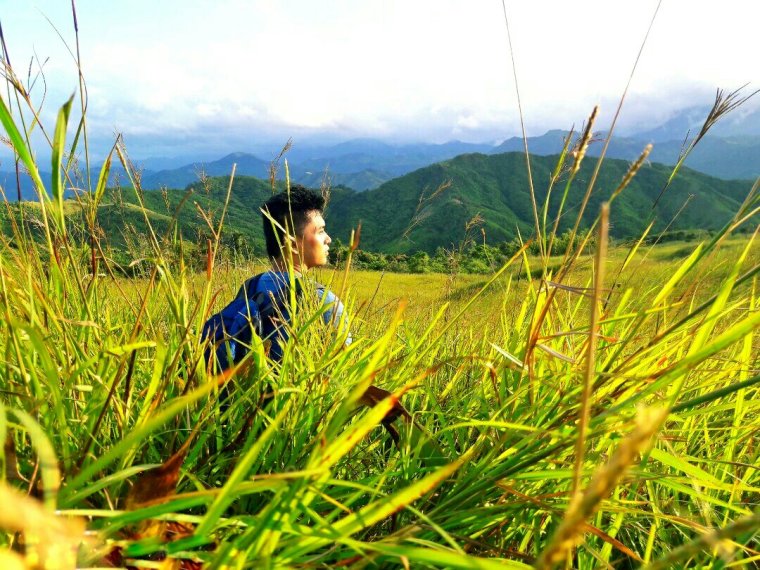
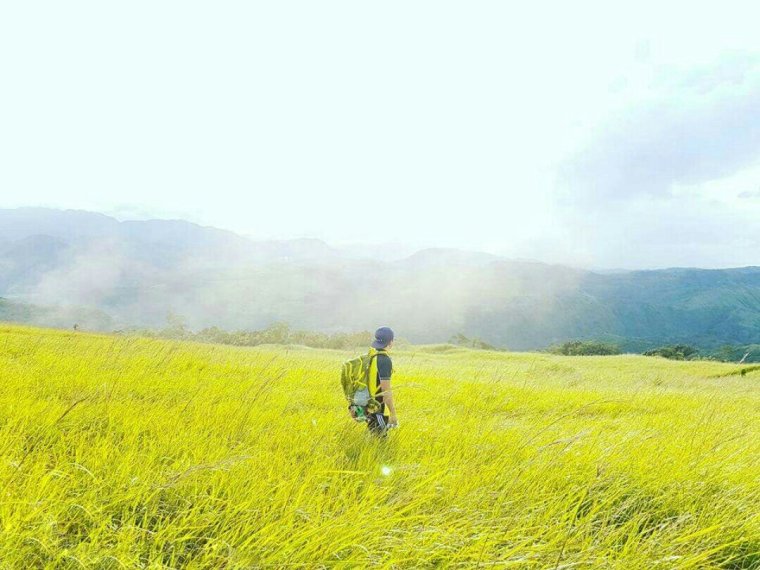
The changing color of the sky, the flowers that bloomed overnight, the city lights, the greenest grasses in the mountain that were turned into gold, it was indeed a wonderful scenery!
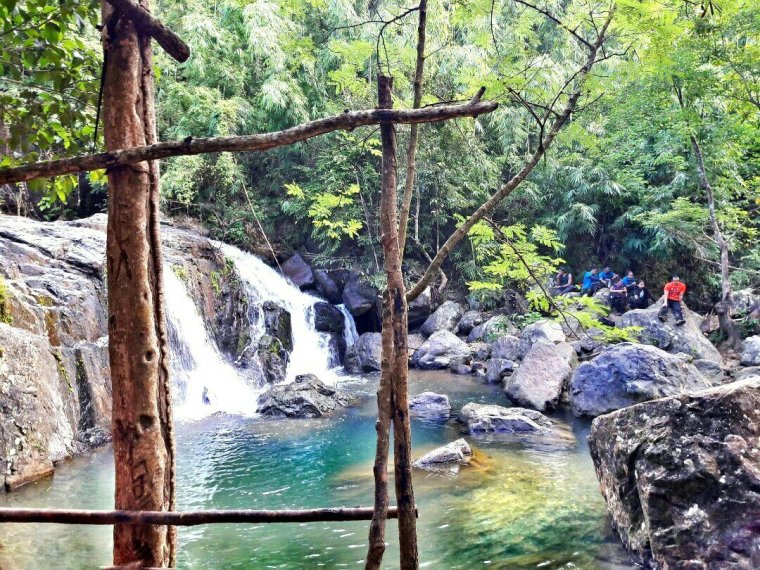
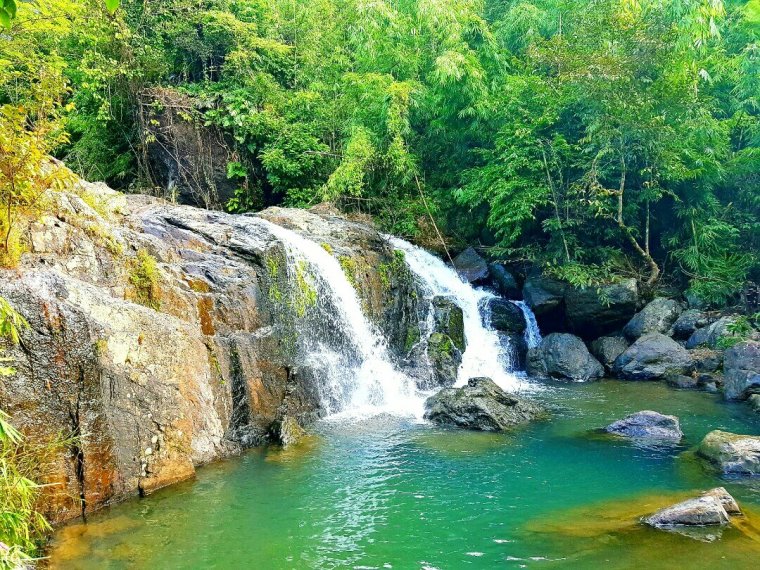
Kay-Ibon Falls
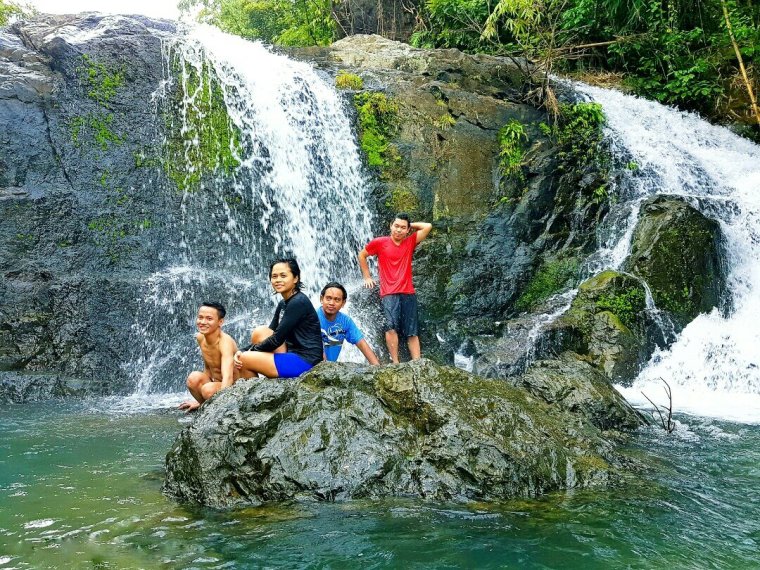
We descended at around 7 AM and took the route going to Kayibon falls. This is the most well-known side trip when climbing Mt. Batolusong. It took us roughly around 2 hours to reach the place and we were the first group to dip into the base of the falls and it was so satisfying! The trail going to the falls was absolutely easy! ☺
TIPS/REMINDERS:
- Leave no trace policy (LNT). Always respect the mountain!
- Bring a flashlight for overnight and for those who will start the trek at dawn.
- Bring at least 1 liter of water, get it refilled from the water sources in the mountain if your stomach is not that too sensitive since the water comes directly from the mountain.
- Bring your packed lunch/dinner and trail food.
- Bring extra clothes.
- From Kay-ibon falls, you can exit from there and wait for jeepney back to Cogeo.
- From Cubao Aurora Blvd, ride a jeepney going to Cogeo. Drop off is at Cogeo Gate 2 or Cogeo public market.
- Walk to Cogeo City Mall and look for the jeepney terminal going to Barangay Sampaloc. Drop off is at Barangay San Andres or just tell the driver that you will climb Mt Batolusong.
- Rent a tricycle will take you the jump off area.
- From Kay-ibon Falls, hire a tricycle that will take you to the jeepney terminal bound to Cogeo. The fare is around 150-200 good for four. From there ride a jeepney for 30 pesos. (You can also wait from the highway for jeepney bound to Cogeo, but this is not advisable for big groups because most of these jeeps that passed by are already full.
- From Cogeo Gate 2, there are already jeepneys that are bound to Araneta Cubao for 25 pesos.
| Cubao to Cogeo Gate 2 RT | Php 50 |
| Jeep to Barangay Sampaloc | 42 |
| Tricycle from Brgy Sampaloc to Registration Area * Regular rate is 120/trike good for 4 people and since we were six, we hired two tricycles and divided the cost equally. |
40 |
| Tricycle from Kay-ibon exit to jeepney terminal * Regular rate is 150/trike good for 4 people and since we were six, we hired two tricycles and divided the cost equally. |
50 |
| Terminal to Cogeo Gate 2 | 30 |
| Registration Fee | 40 |
| Tour Guide (1250/6) Fixed Rates: Overnight- 1250
Dayhike- 500 |
209 |
| TOTAL | Php 461 |
Related Links:
MT. PULAG TRAVEL GUIDE
Hiking Guide for Beginners: Mt. Maculot (Rockies) 2017
230 pesos Hiking Guide to Mt. Balagbag 2017
500 pesos Dayhike Guide to Mt Batulao + Caleruega Church

